On the BikeVis wiring the all back wire is your neutral, and the black with white is your live. It is important that you keep track of that. If you get these mixed if they just wont work, or you may even blow the LEDs. You may as well connect both lights to the same splice. I stripped about 20mm, doubled it over and then twisted together both lives, and then both neutrals.
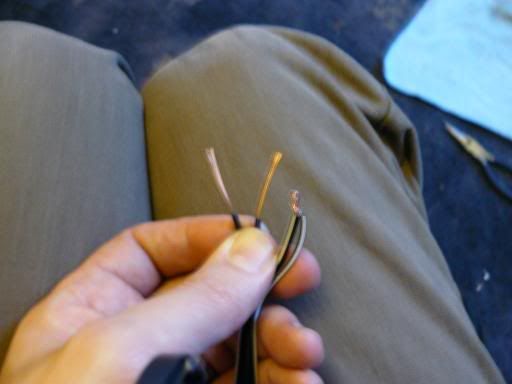
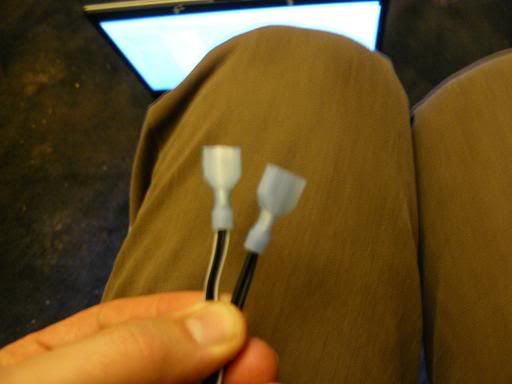
The exposed wire was long and thick enough to fit into the crimping collar of the tap connector plug. One went on each set of wires.
I decided to run the lights from the same feed as the parking light so they would be on as soon as the ignition is on. I’d already replaced this with an LED alternative so it isn’t drawing anywhere near the amps intended and has plenty to spare.
I took the headlight off to find the parking light wire and decided I didn’t want to put the taps on the exposed section right near the headlight. The black wire is found all over the loom and is a common colour for the neutral wire. Almost all the other wires will be live wires that are colour coded so you can tell what piece of equipment they supply. Someone had to explain this to me once. (Would it have killed Yamaha to use colour on the wiring diagrams!)

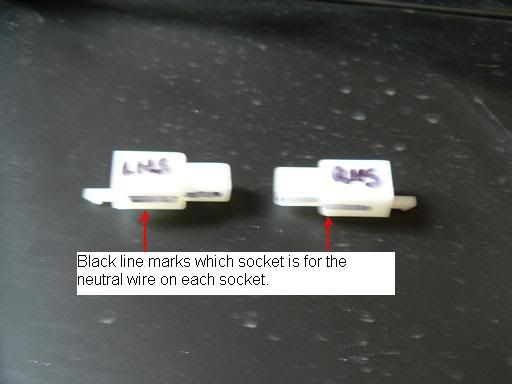
I cut away some of the loom covering and pulled out the parking light wires so I could place the taps below the ignition barrel. I then taped up all the other wires and clipped the taps in place. At this point I realised that it may be difficult to tell which one was the neutral once it was taped back up. So I took a marker and coloured the neutral tap and plug the common black colour and taped the wires back to the loom.
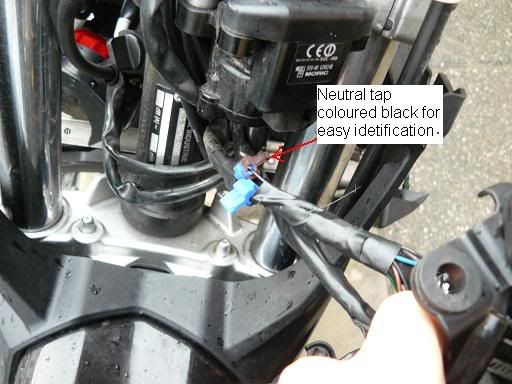
The wires were connected and sent either side of the back of the steering column and the headlight was put back in place.
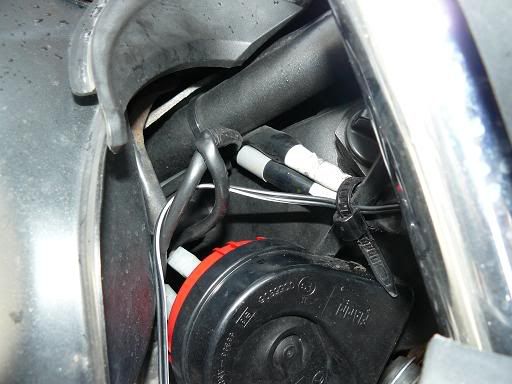
I was able to use cable ties that were already in place to rout the cables where I wanted them without them being in the way of anything or near hot places.
Left Hand Side routing
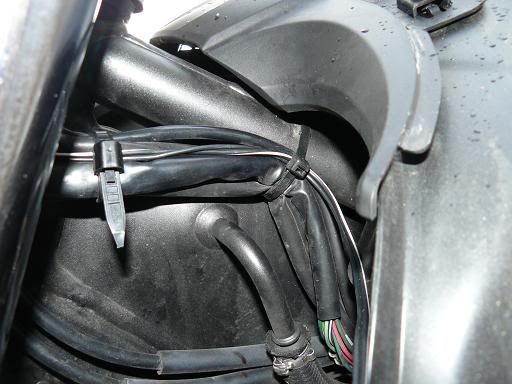
Right Hand Side routing
I then brought the wire to were it would connect to the fairing, baring in mind that I already had 60mm of excess on the fairing I didn’t really need much here.
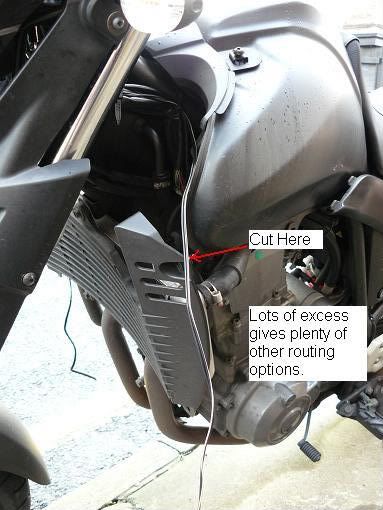
Trim the wires and crimp on the spade connectors. Here I found that the connectors that I had differed. The females crimped without problem but after having a test pull of the male I pulled it off (fnarr fnarr). The stripped wire was a little thin to crimp properly into the male. So I stripped of an extra 5mm and doubled up the stripped wire to make it thicker and this was easier to get a good solid fix on the spade. I’ve made this mistake before and thought everything was crimped in place, put the spades into the plug and connected things up. The first time a little strain was put on the plug all the wires popped out or the spades (Much swearing ensued).
REMEMBER the plug will only fit on one way and you have to make sure the positive and neutral wires from both sides of the plugs match up. Keep this in mind when you put the spades into this side of the connector block. While you’re here a little petroleum jelly or silicone waterproofing wouldn’t hurt.
Connect everything up, mount your fairings, hold your breath and switch it on.
IT WORKS! Night time picture to follow.
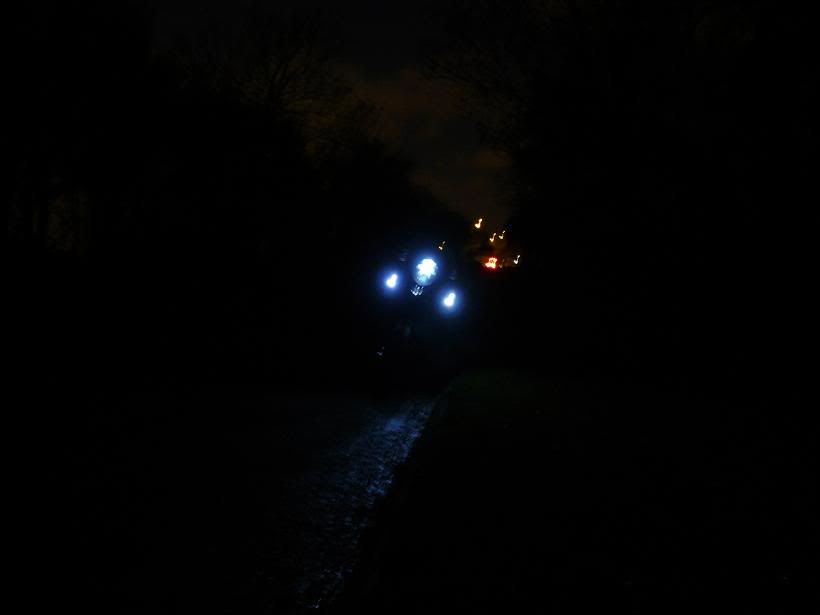
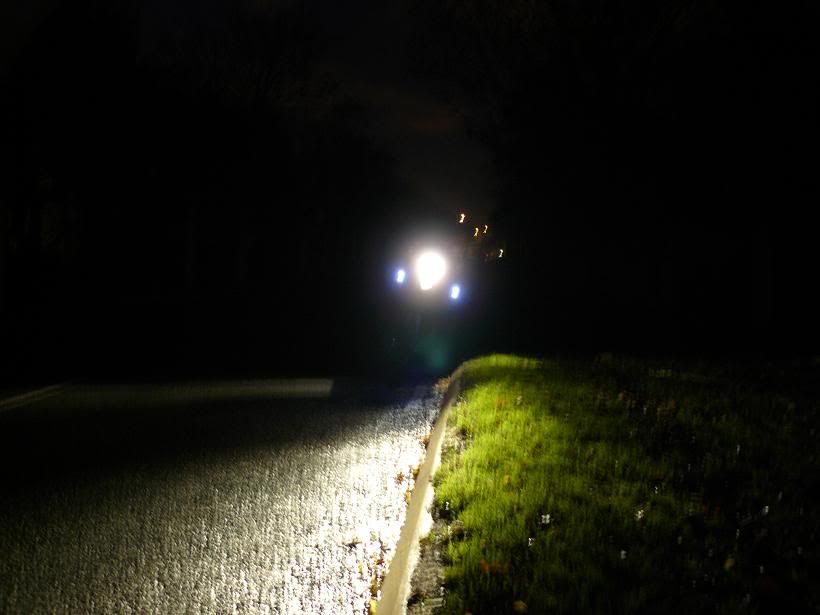
Reward yourself with a beer, it’s in the BikeVis instructions! Unfortunatly I mistimed this job due to rain and finished at 10:30 on a Saturday morning rather than Friday evening. Beer postponed

.
It's taken me longer to put these instructions together than do the work. If you have everything you are going to need before hand then it should take 1-1.5 hours.